As a new year begins, another journey with brave Glasgow explorers comes to an end. What amazing residencies I’ve had at St Joseph’s and Riverbank Primary schools. I’ve met so many amazing young people and teachers, and it’s been a privilege to take them outside for experiments in creativity and nature connection. I’ve learnt heaps, and hope they will carry the seeds of curiosity to continue exploring the amazing natural world we call home.

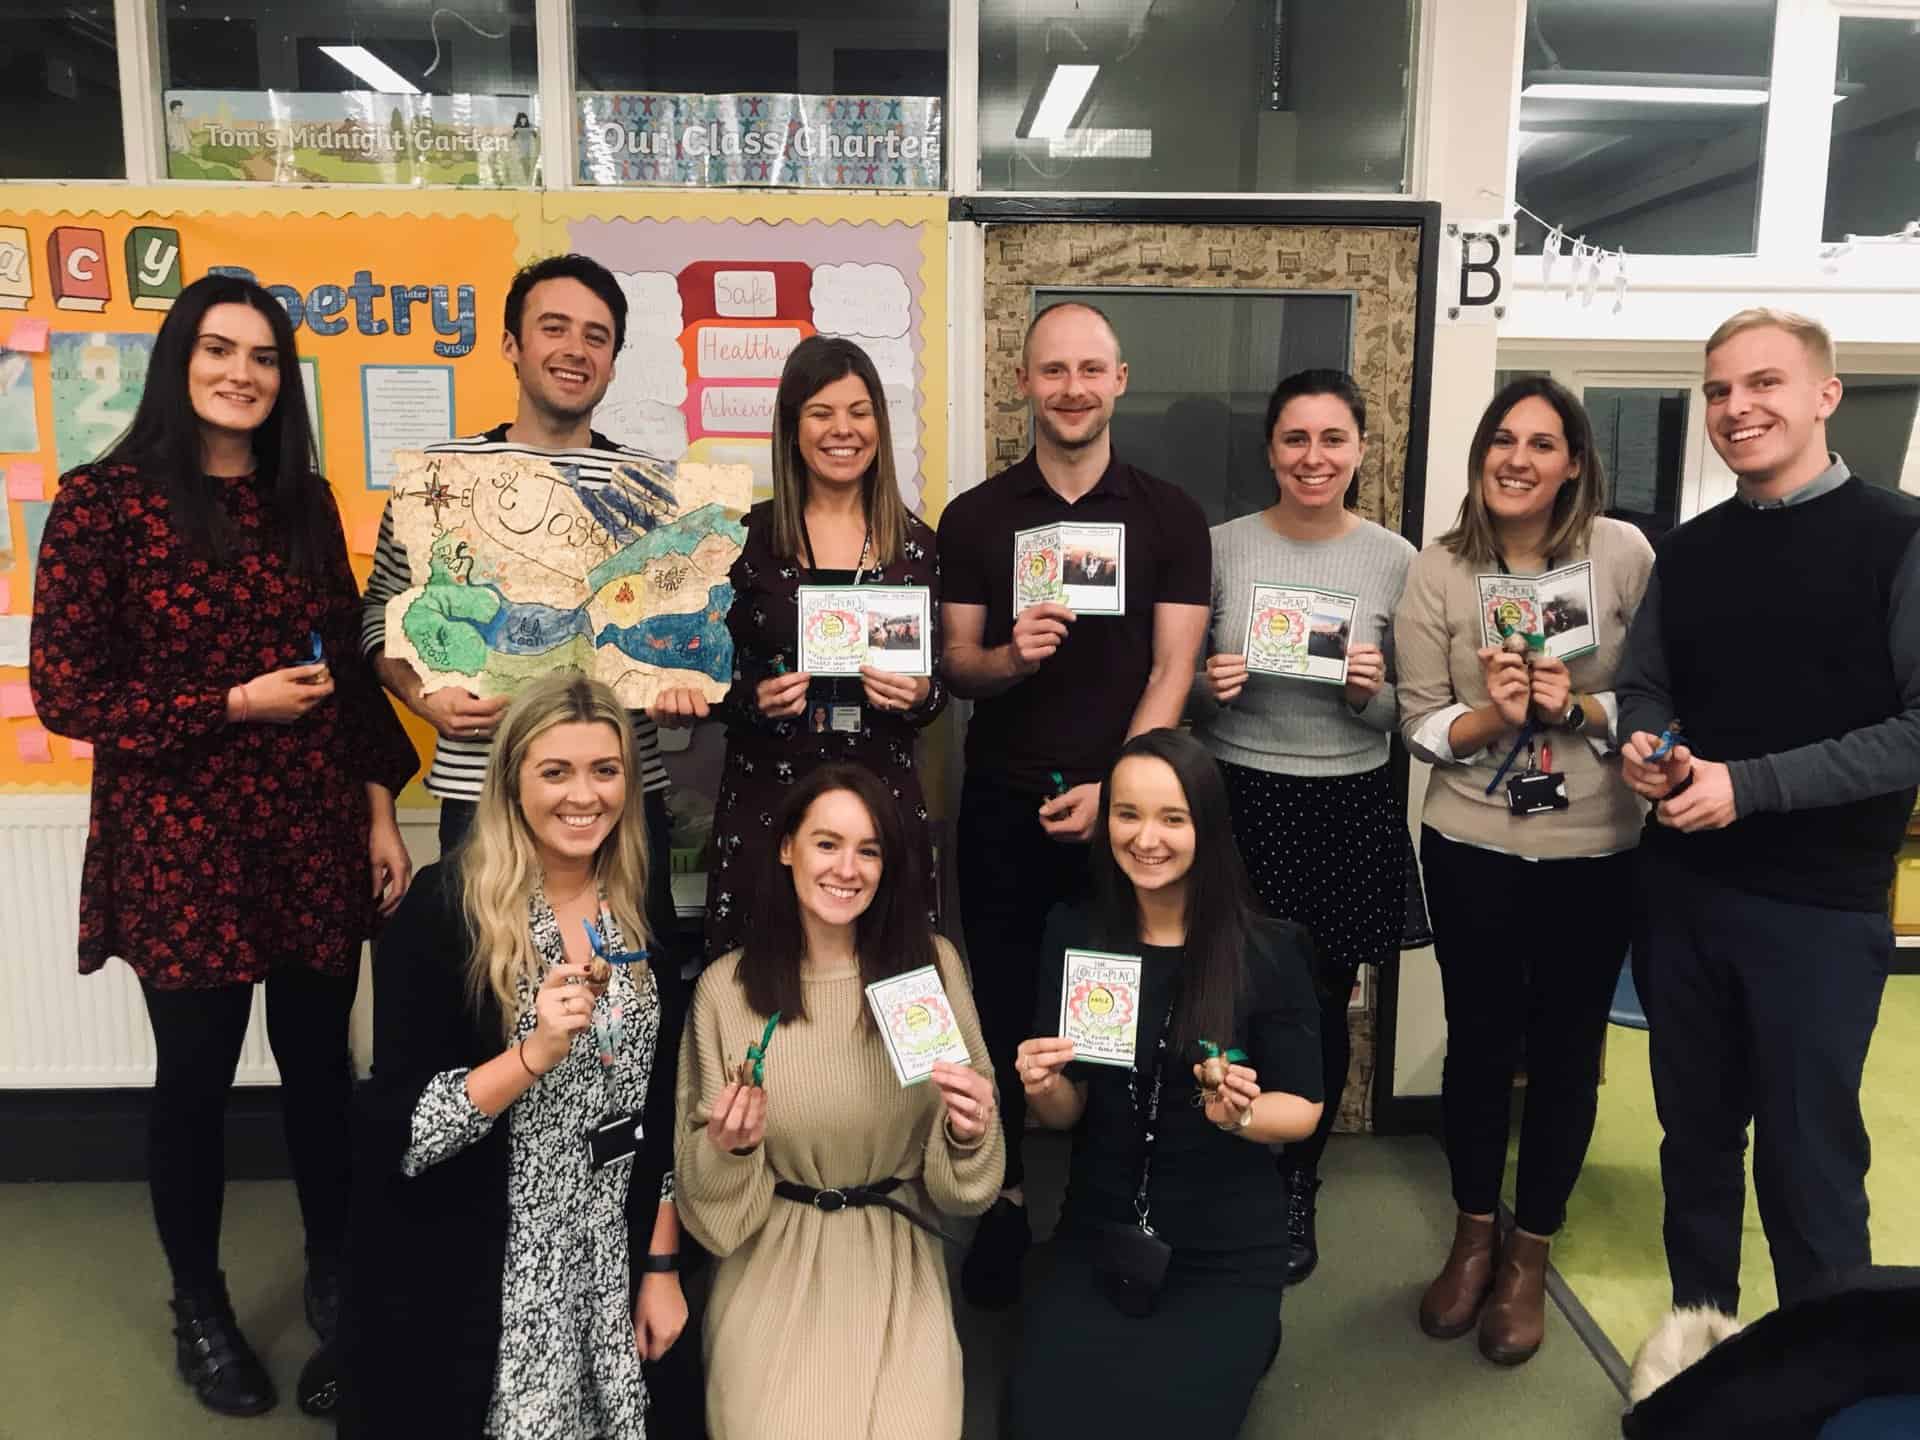
There was a lot of new learning from this Out to Play year. The decision to create more of an overarching narrative flow to the 5 weeks offered new challenges as well as opportunities, and the large outdoor spaces on offer made the scope of possibility almost as great as the struggle to manage it! However, I feel that one of the real triumphs of 2019 was the teacher training element. With the support of a newly formed planning CPD we invited the teachers to lead their own session in the middle of the project. What they came up with was both ambitious and clear. From blindfold science experiments to imaginary adventures across oceans, teachers drew from their skills whilst stretching their capacity in new directions. At the end of the Riverbank residency, the participating teachers requested to use their CPD time to design more Out to Play sessions. It was a brilliant session, and I hope they will take their ideas forward for many years to come. In supporting the teachers to create their own outdoor journeys, I had to get to the essence of what it takes to make a story-led Out to Play adventure. What better way to end the project than to share this with you now as a tool for your own outdoor story and play contexts.
Enjoy!
It doesn’t take much to create exciting and imaginative outdoor story-led learning sessions. It’s as simple as A, B, C!
Here’s how:
A) Be inspired by your playground
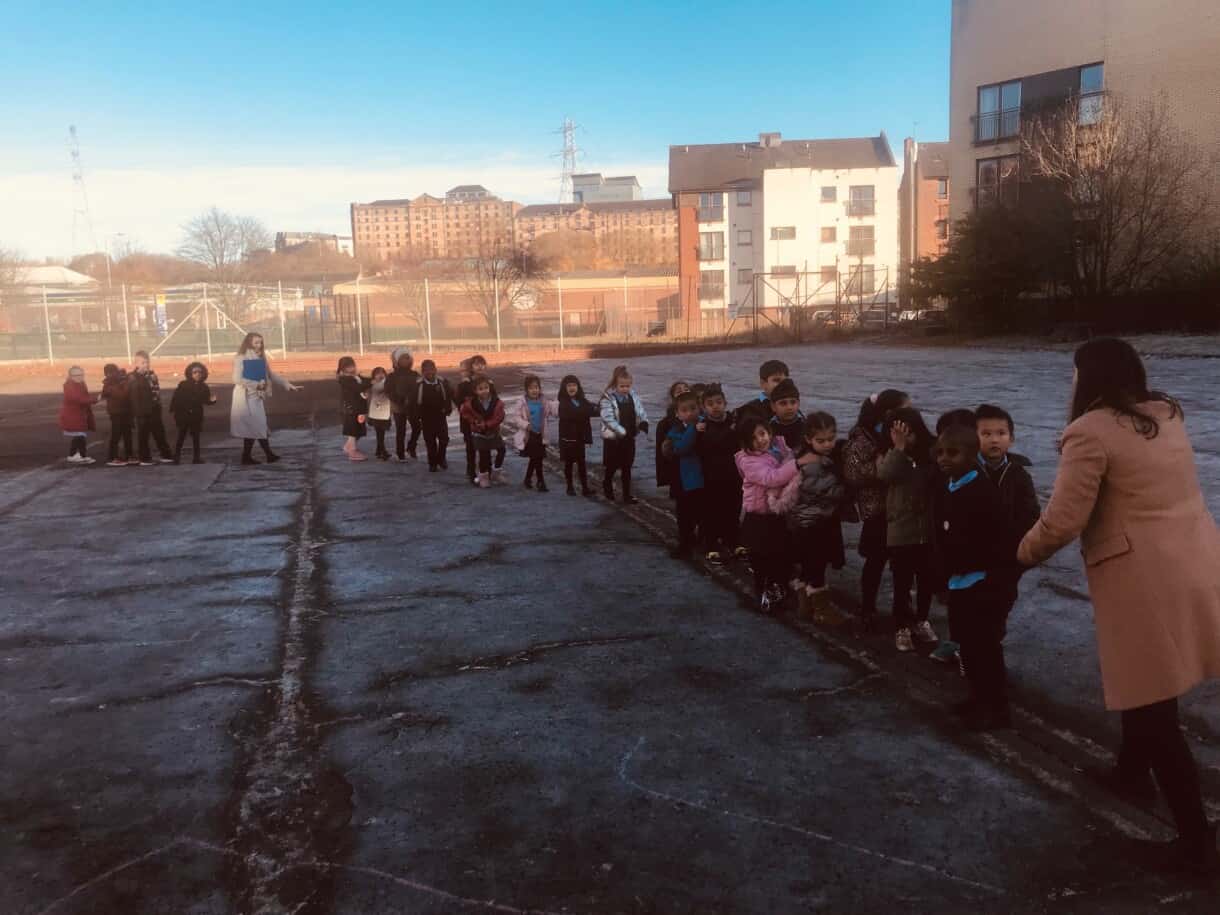
Go out to your playground or the area you will be exploring with children with a clipboard and pencil. It doesn’t matter if there are no plants to be found. This is where the imagination begins! To get familiar with the place, follow these 4 simple steps –
- Walk around the area and see what draws your attention. Once you’re familiar with the space, draw a rough map of the area you want to use. if you can, add the cardinal directions (North, South, East and West).
- Write down some of the practical uses of the space – where is a good storytelling area? Where is flat and large enough to play energetic games? Are there wild edges you can explore? What species live there?
- Now imagine you are the age of the children and discover the space anew – climb banks, search in bushes, pick up interesting things you find. It helps to get down to their level. Ask yourself – where do I feel called to explore? What do I imagine different spaces could be? Be surprised by what you discover and see what sparks your imagination.
- Finally go out during playtime, or let the children play in the area if they don’t usually. Observe their natural play instincts – Where do they run? Where do they sit quietly? What are they imagining different things are? What risks are they wanting to engage in? Try to be curious without modifying their activity (keeping safety in mind of course!)

B) Make a story map
Find a nature story that excites you – search old fairy or folk tale books, check out traditional stories online, raid the children’s bookshelf… or make one up yourself! The goal is for you to share your story confidently without reading it, and adding storytellers tools to make it an engaging performance for any listener.
Take out a large sheet of paper and map out your story with these steps:
- Draw the journey of the story on the page – if the narrative had a shape what would it be? A wiggly ‘path’? A circle? A line showing high and low energy moments? Fill the space with this shape.
- Next add 4-6 section titles – short phrases that help you mark your story e.g. ‘They journey into the woods’. Read them back and make sure no big sections are missing. You could draw little simple pictures beside each to help jog your memory if it’s helpful.
- Now take your story map on a walk and speak it as you go. Which parts excite you? What descriptive language do you use to bring the story alive? Where do you want to speed up your steps or speak quietly? Notice your relationship with the story as you go.
- Returning to a seat, add some more words and images onto your story map inspired by your walking – sensory words or phrases, rhymes, repetition, important moments. Just enough to help you feel closer to the story, not, I repeat NOT to be a script to read from. Take a moment to think about the messages hidden in the story. It’s important to honour the source material, but it’s more important for the story to be relevant to your audience. If there is a princess being sold off as a prize, for example, how can your telling twist slightly – e.g. “father, you can do what you like with your crown and your sword, but I’ll marry whomever I want thank you very much!”
- Next, identify the natural breaks in the story, e.g. at the end of a day, or when a part of the plot is about to repeat (“and so the second daughter set off from the village”). What participation opportunities could fit here? You could ask a question about how characters are feeling or what they should do next, choose a fitting rhythm or song for everyone to join in with, or ask someone to step in and act as a character in the story. These moments not only help make a story more interesting, they are essential for helping your audience stay with you and not lose focus, especially for children under 8 or with additional support needs.
- Now stand with the story map on the floor in front of you and practice telling your story. Only look down when you need to. Important things to think about are what you do with your voice (e.g. When can you be loud and soft? What different vocal qualities can you use? When should you speed up or slow down?) and your body (where are your hands? How much will you embody characters? Are there gestures you could repeat which the audience can join in with?) Practice it enough that no part of you is unsure of the plot, but not so much that every word is set in stone. It helps to share with an audience, but if you don’t feel comfortable doing this in front of someone, you could audio record yourself and listen back, or try telling to an animal or cuddly toy (it really works!)
The most important thing is to try not to worry about it! If you are enjoying the story your audience will too.
C) Imagine a journey
Bring these final elements together to turn your story into an amazing nature adventure:
- Choose a theme that brings your story to life (e.g. ‘the cycles of life’, ‘light and darkness’, ‘journeys’. This is the nature learning container for your Out to Play session. Find out 3 amazing facts about this theme you can share with the children during the session. How does this theme link to an environmental issue? Can you bring this into the session too?
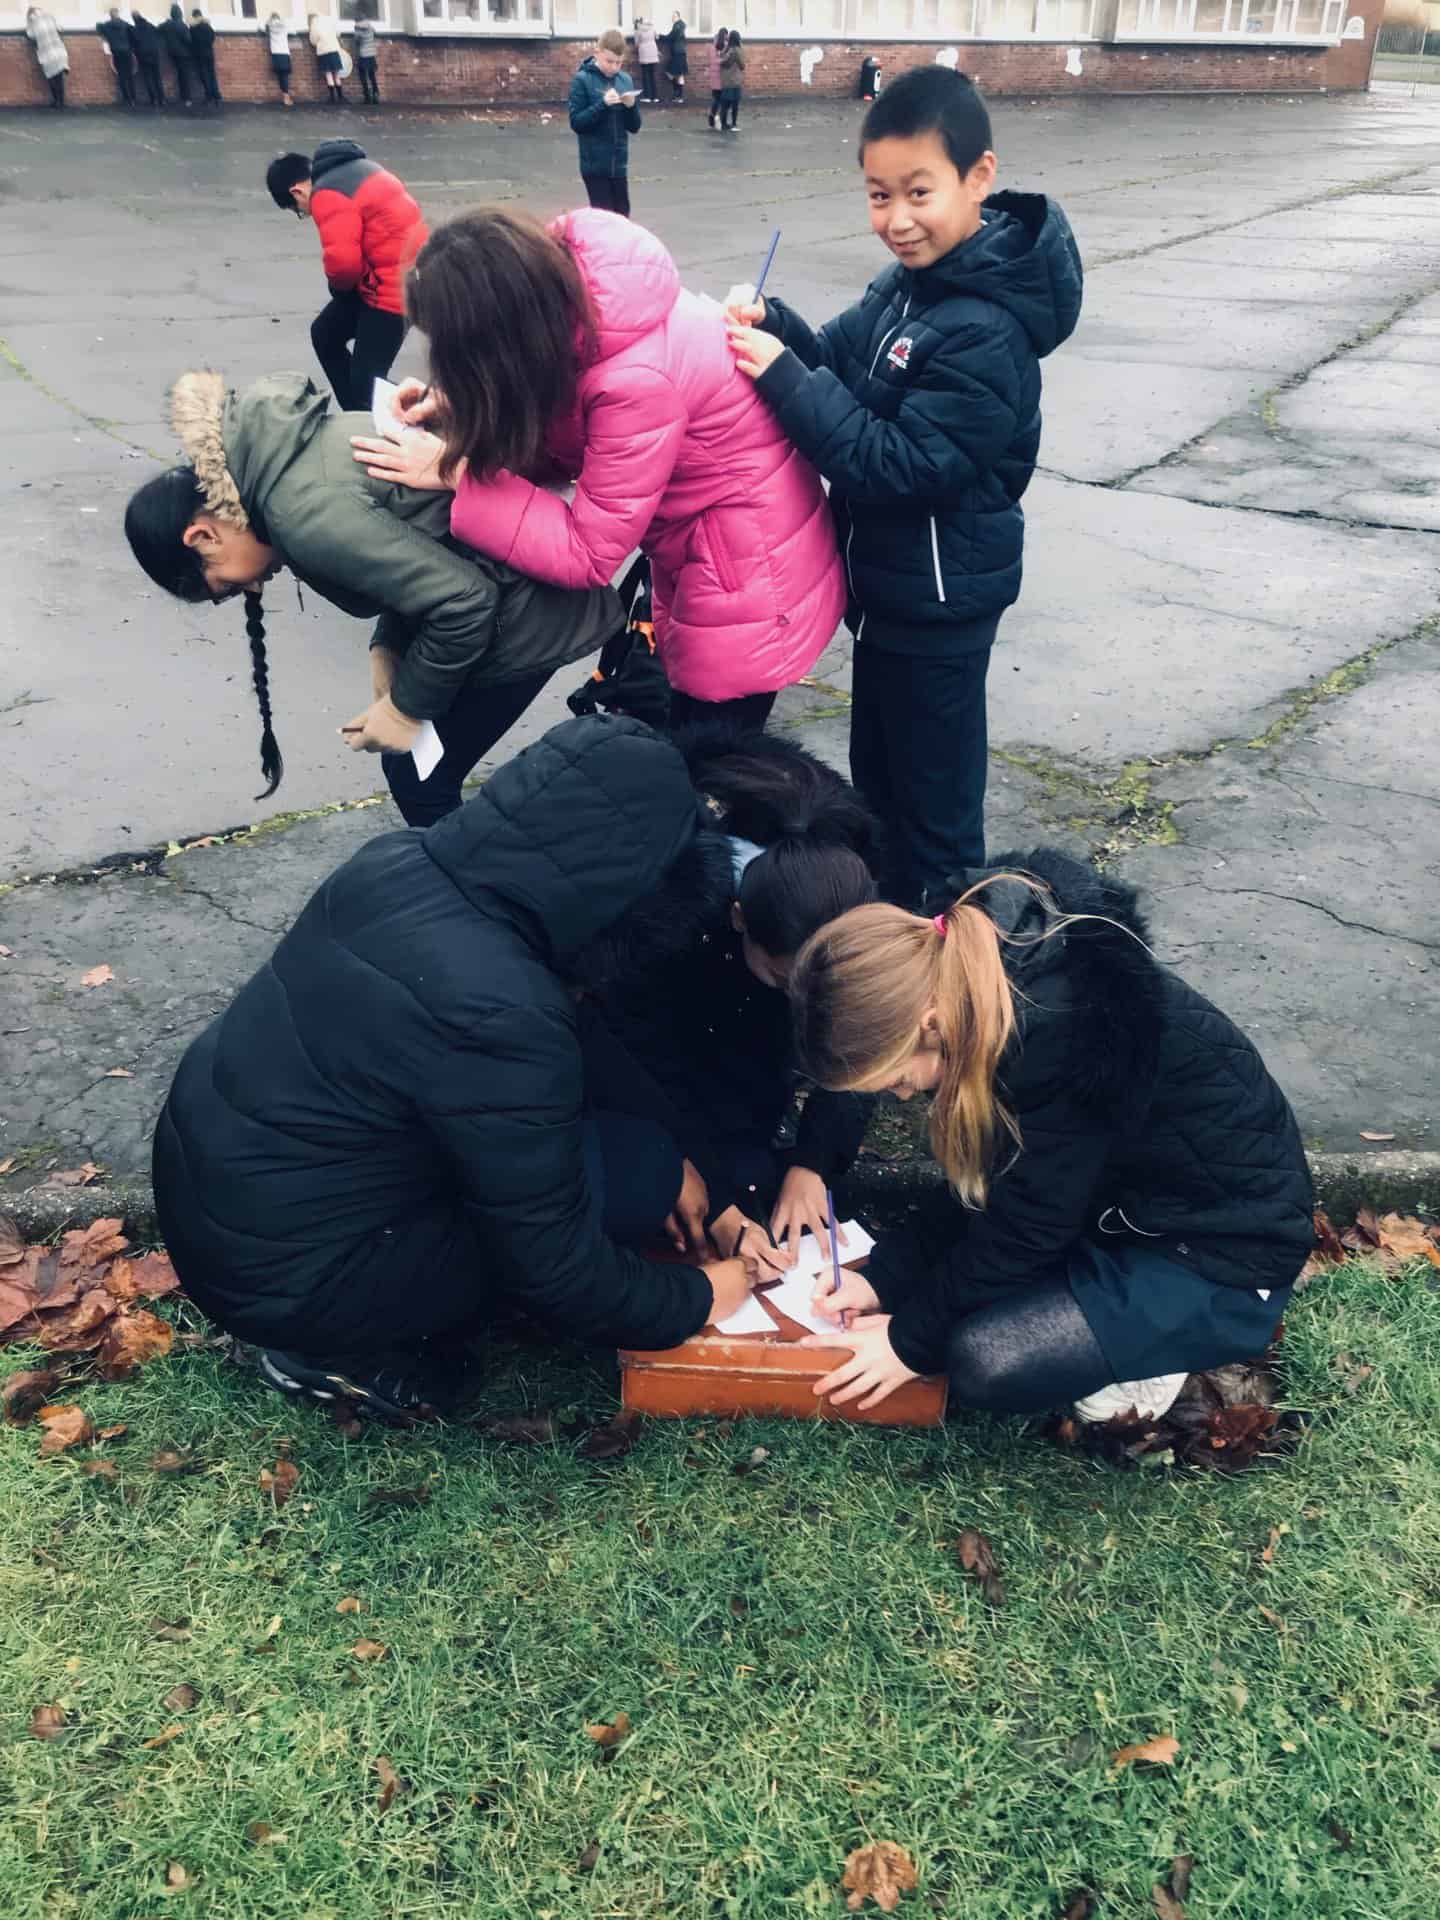
- Find an object that brings your story to life – e.g. a key, a shell or an egg… think about how you could reveal this object to start off your outdoor adventure.
- Now find an energetic game that is linked to your theme. It’s important they can explore, make noise, be energetic and learn at the same time! This could be a drama exercise, a bushcraft activity, a scavenging task or a themed game they play already (e.g. parachute games or animal tag).
- Choose a more focused and collaborative activity linked to your theme or story. They could work in groups to act out a part of the story or make up their own. They could do some planting or making from natural objects. As long as it’s bringing the story to life and ecological in its approach and delivery, the possibilities are endless!
- Are there any classroom/continuation activities you could add to bring the learning indoors? These could be writing or drawing exercises, crafty activities, research tasks or discussions. Could the session kick off a whole topic of learning for your pupils?
Now take a look at the elements you’ve got –
SPACE – STORY – THEME – OBJECT – ENERGETIC GAME – FOCUSED ACTIVITY – CLASSROOM ACTIVITY
Think through the journey you will take to incorporate all these elements. Where will each activity take place? And in what order?
Now all you need to do is make sure you have all your materials ready, and get started!
There is no end to the creativity that is possible with children outdoors. All it takes is some preparation, enthusiasm, space (and proper waterproofs!) and your pupils will be eagerly awaiting the next chance to head Out to Play…
…So here’s to making 2020 the year of Outdoor Adventures!

Footnote
…and then there are times to break the rules (!)
In my very last 2019 Out to Play session, a particularly magnificent P2 class had such incredible imaginations they gave me the idea to throw away all the steps above.
We journeyed outside and gathered around an imaginary fire as normal, but when I opened my box, which is full of every story in the world, it was…. empty! All we had was our playground map of imagined landscapes, our story stick to pass and tell, and our imaginations. What could we do? Led by them, I began to improvise a story about characters they suggested. We were off, led entirely by their own ideas. We escaped a terrible flood in the forest, we searched for a new home in the mountains, we discovered a great tower where a magician lived and with his help we flew all the way home again to discover our homes magically restored. No plan, no flashy materials… just the capacity for imagination and wonder in every child.


